


How to upgrade the Ender 5 Pro firmware by Austin Kregel
In fact, firmware is really just another type of software, just one that has a more specific role (enabling hardware functions). While it may seem odd, nothing about firmware fundamentally differs from software – it is a program run by a computer. BIOS, modems, and video cards were usually made to be easy to update as their technology rapidly evolves. But firmware in storage devices, like hard drives and USB flash drives, often gets overlooked. That is because storage device’s functionality is limited and straightforward, making it unnecessary to update them as often. Firmware is a type of software that is embedded directly in a piece of hardware to make the hardware work as intended. Firmware is programmed by the manufacturer and is installed on a digital device right in the factory.
Our guide on the best filament to use with Creality 3D printers. I’m happy to discuss shortcomings/omissions/improvements to these instructions. If you’re not working on a Creality printer or you’re not willing to share more detail of the output of the printer in earlier steps then I’m unable to help. What output do you get at step 8 in the instructions above? If you don’t get any output from the printer at this point you may have the wrong baud rate or tty. If you can’t see a new tty then now is the time to install the USB to serial port driver.
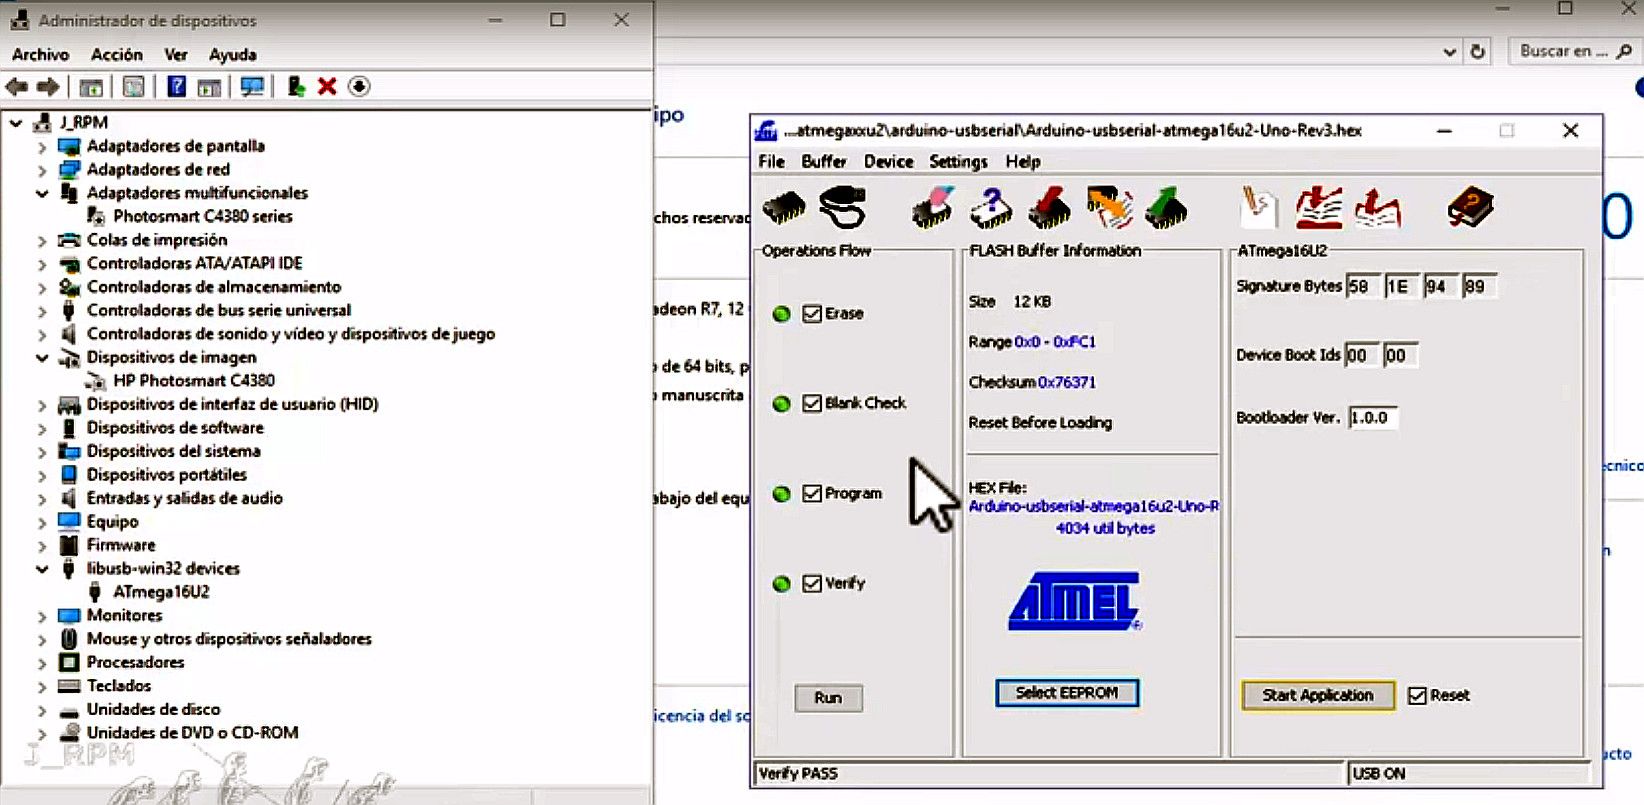
Open the Zadig utility and set the driver for “STM32 BOOTLOADER” to libusb-win32. Another tricky thing is to setup inversion for your motors. It can happen if you did not plug correctly your stepper motors into driver pins.
- The Mainsail OS and Klipper are successfully installed on your Raspberry Pi and Ender 3, respectively.
- In such cases, instead of recalibrating the home position, the solution may rely on checking the machine for loose, misaligned, or incorrectly positioned parts.
- Get free proposals from vetted lawyers in our marketplace.
- In this guide, we’ve chosen the Original Ender 3 (2018) as a reference for setting up Klipper.
- A bootloader is a program that loads an operating system when a computer (in this case, the printer) is turned on.
I did a few different versions of firmware and it usually didn’t take more than about 30 seconds. It came with a cable that had a small 5-pin JST connector on the probe end and two separate connectors on the board end, a 3-pin DuPont-style connector and a 2-pin JST connector. The first thing to do is disconnect your control box from your printer and confirm the correct wiring and connectors for your printer (see next section). Its open-source nature and strong community have significantly contributed to its list of features, and the current Klipper firmware offers far more than fast print speeds. This is dependent on which programmer is flashed into the bootloader. If Creality have released the source code for your printer then the answer should be there.
Because if the firmware is not recognized, the system will not work properly. Additionally, it offers benefits in order to change it for a newer device as it can be altered without credit the need to exchange the hardware. The second way of thinking about this naming convention is that it is not “hard” to change, at the same time it is not “easy/soft” to change. Hardware is hard to change, usually, the only way is to buy a new one and replace the old one.